整体思路参考此文:Windows Terminal Custom Prompt Setup | Microsoft Docs
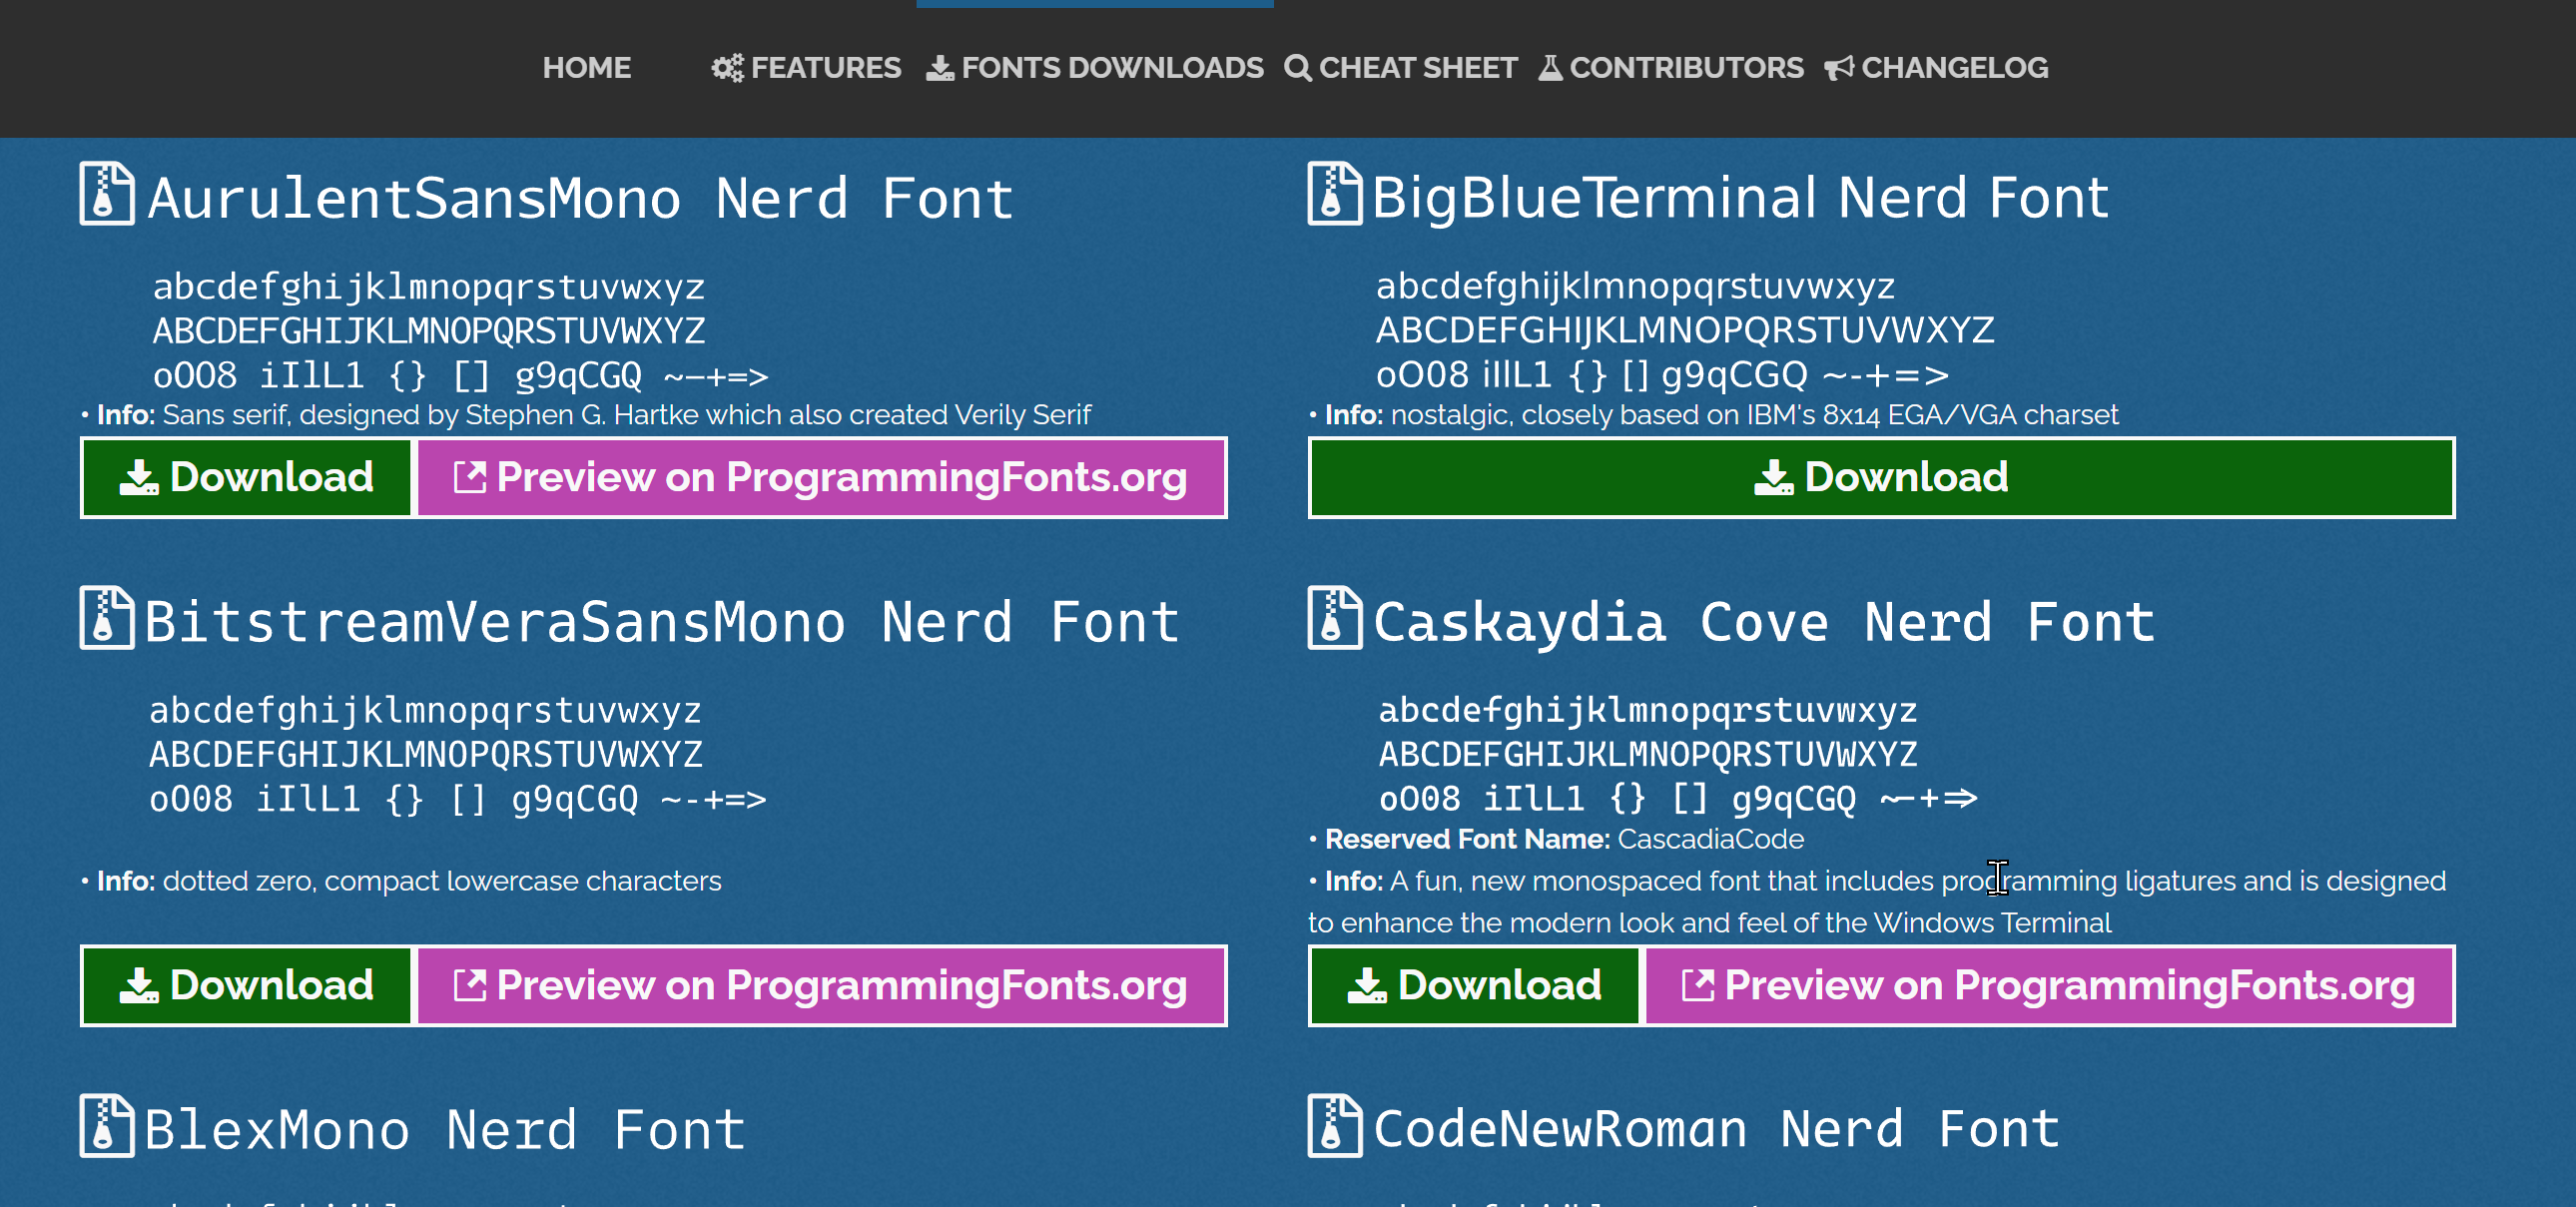
一、安装NerdFonts
推荐安装Caskaydia Cove Nerd Font

二、安装oh-my-posh
文章中采用了两种方式,一种是为powershell单独安装,另外一种是使用包管理器Winget同时为WSL和PowerShell安装。下面采用的是第二种:
1. 安装Winget
官方中文文档:Windows 程序包管理器,应用商店直接搜索 app installer安装即可。
2. 安装oh-my-posh
安装命令如下:
winget install JanDeDobbeleer.OhMyPosh
此命令将会安装:
- oh-my-posh windows程序
- oh-my-posh-wsl
- oh-my-posh 主题
安装日志如下,仅供参考
| |
2.1 查看主题
官方文档:prompt themes in the Oh My Posh docs
文章给出的命令如下:
Get-ChildItem -Path "~\AppData\Local\Programs\oh-my-posh\themes\*" -Include '*.omp.json' | Sort-Object Name | ForEach-Object -Process {
$esc = [char]27
Write-Host ""
Write-Host "$esc[1m$($_.BaseName)$esc[0m"
Write-Host ""
oh-my-posh --config $($_.FullName) --pwd $PWD
Write-Host ""
}
这里注意路径需要根据实际情况去修改。
WSL下的路径为:/mnt/c/Users/heqifeng/AppData/Local/Programs/oh-my-posh/bin/oh-my-posh.wsl【这里列出来没有实际作用,只是想说明,wsl的文件也在windows下的安装路径上】
Windows下的路径为:C:\Users\heqifeng\AppData\Local\Programs\oh-my-posh
此处如果使用第一种方式,即单独为powershell安装的话,可以使用Get-PoshThemes命令直接查看主题。
【注】第二种方式没有试过这个命令,不知道是否可行(因为是重新按照第一种方式单独执行了命令,在这之前没有执行过主题命令)
2.2 增加启动脚本
选择好自己的主题之后,分别在PowerShell和WSL中修改配置文件即可。
2.2.1 PowerShell
修改PowerShell的启动配置文件,在末尾加上脚本:
| |
其中第一行代表初始化oh-my-posh,第二行代表设置主题。
按照文档的说法在powershell中执行命令:notepad $PROFILE。提示记事本无法找到路径,因为该文档本身并不存在。两种解决方法:
执行一个判断命令,没有则创建一个
1if (!(Test-Path -Path $PROFILE )) { New-Item -Type File -Path $PROFILE -Force }使用VS Code打开【[排查](windows - Powershell: $profile is pointing to a path that I can't find and setting permanent path - Stack Overflow)】
code $PROFILE
执行code $PROFILE命令时遇到的第一个问题是:
无法加载文件 D:\Users\heqifeng\Documents\WindowsPowerShell\Microsoft.PowerShell_profile.ps1,因为在此系统上禁止运行
脚本。有关详细信息,请参阅 https:/go.microsoft.com/fwlink/?LinkID=135170 中的 about_Execution_Policies。
所在位置 行:1 字符: 3
+ . 'D:\Users\heqifeng\Documents\WindowsPowerShell\Microsoft.PowerShell ...
+   ~~~~~~~~~~~~~~~~~~~~~~~~~~~~~~~~~~~~~~~~~~~~~~~~~~~~~~~~~~~~~~~~~~~
    + CategoryInfo          : SecurityError: (:) [],PSSecurityException
    + FullyQualifiedErrorId : UnauthorizedAccess
按照[文档](关于执行策略 - PowerShell | Microsoft Docs)排查后,执行下面命令解决:
| |
解决完执行策略的问题之后,修改完配置文件后重新打开windows terminal。
这里遇到第二个问题:
| |
此问题没有找到原因,怀疑是第二种方式本身的安装方式有问题。解决的方法是按照第一种方式重新安装了一次:
| |
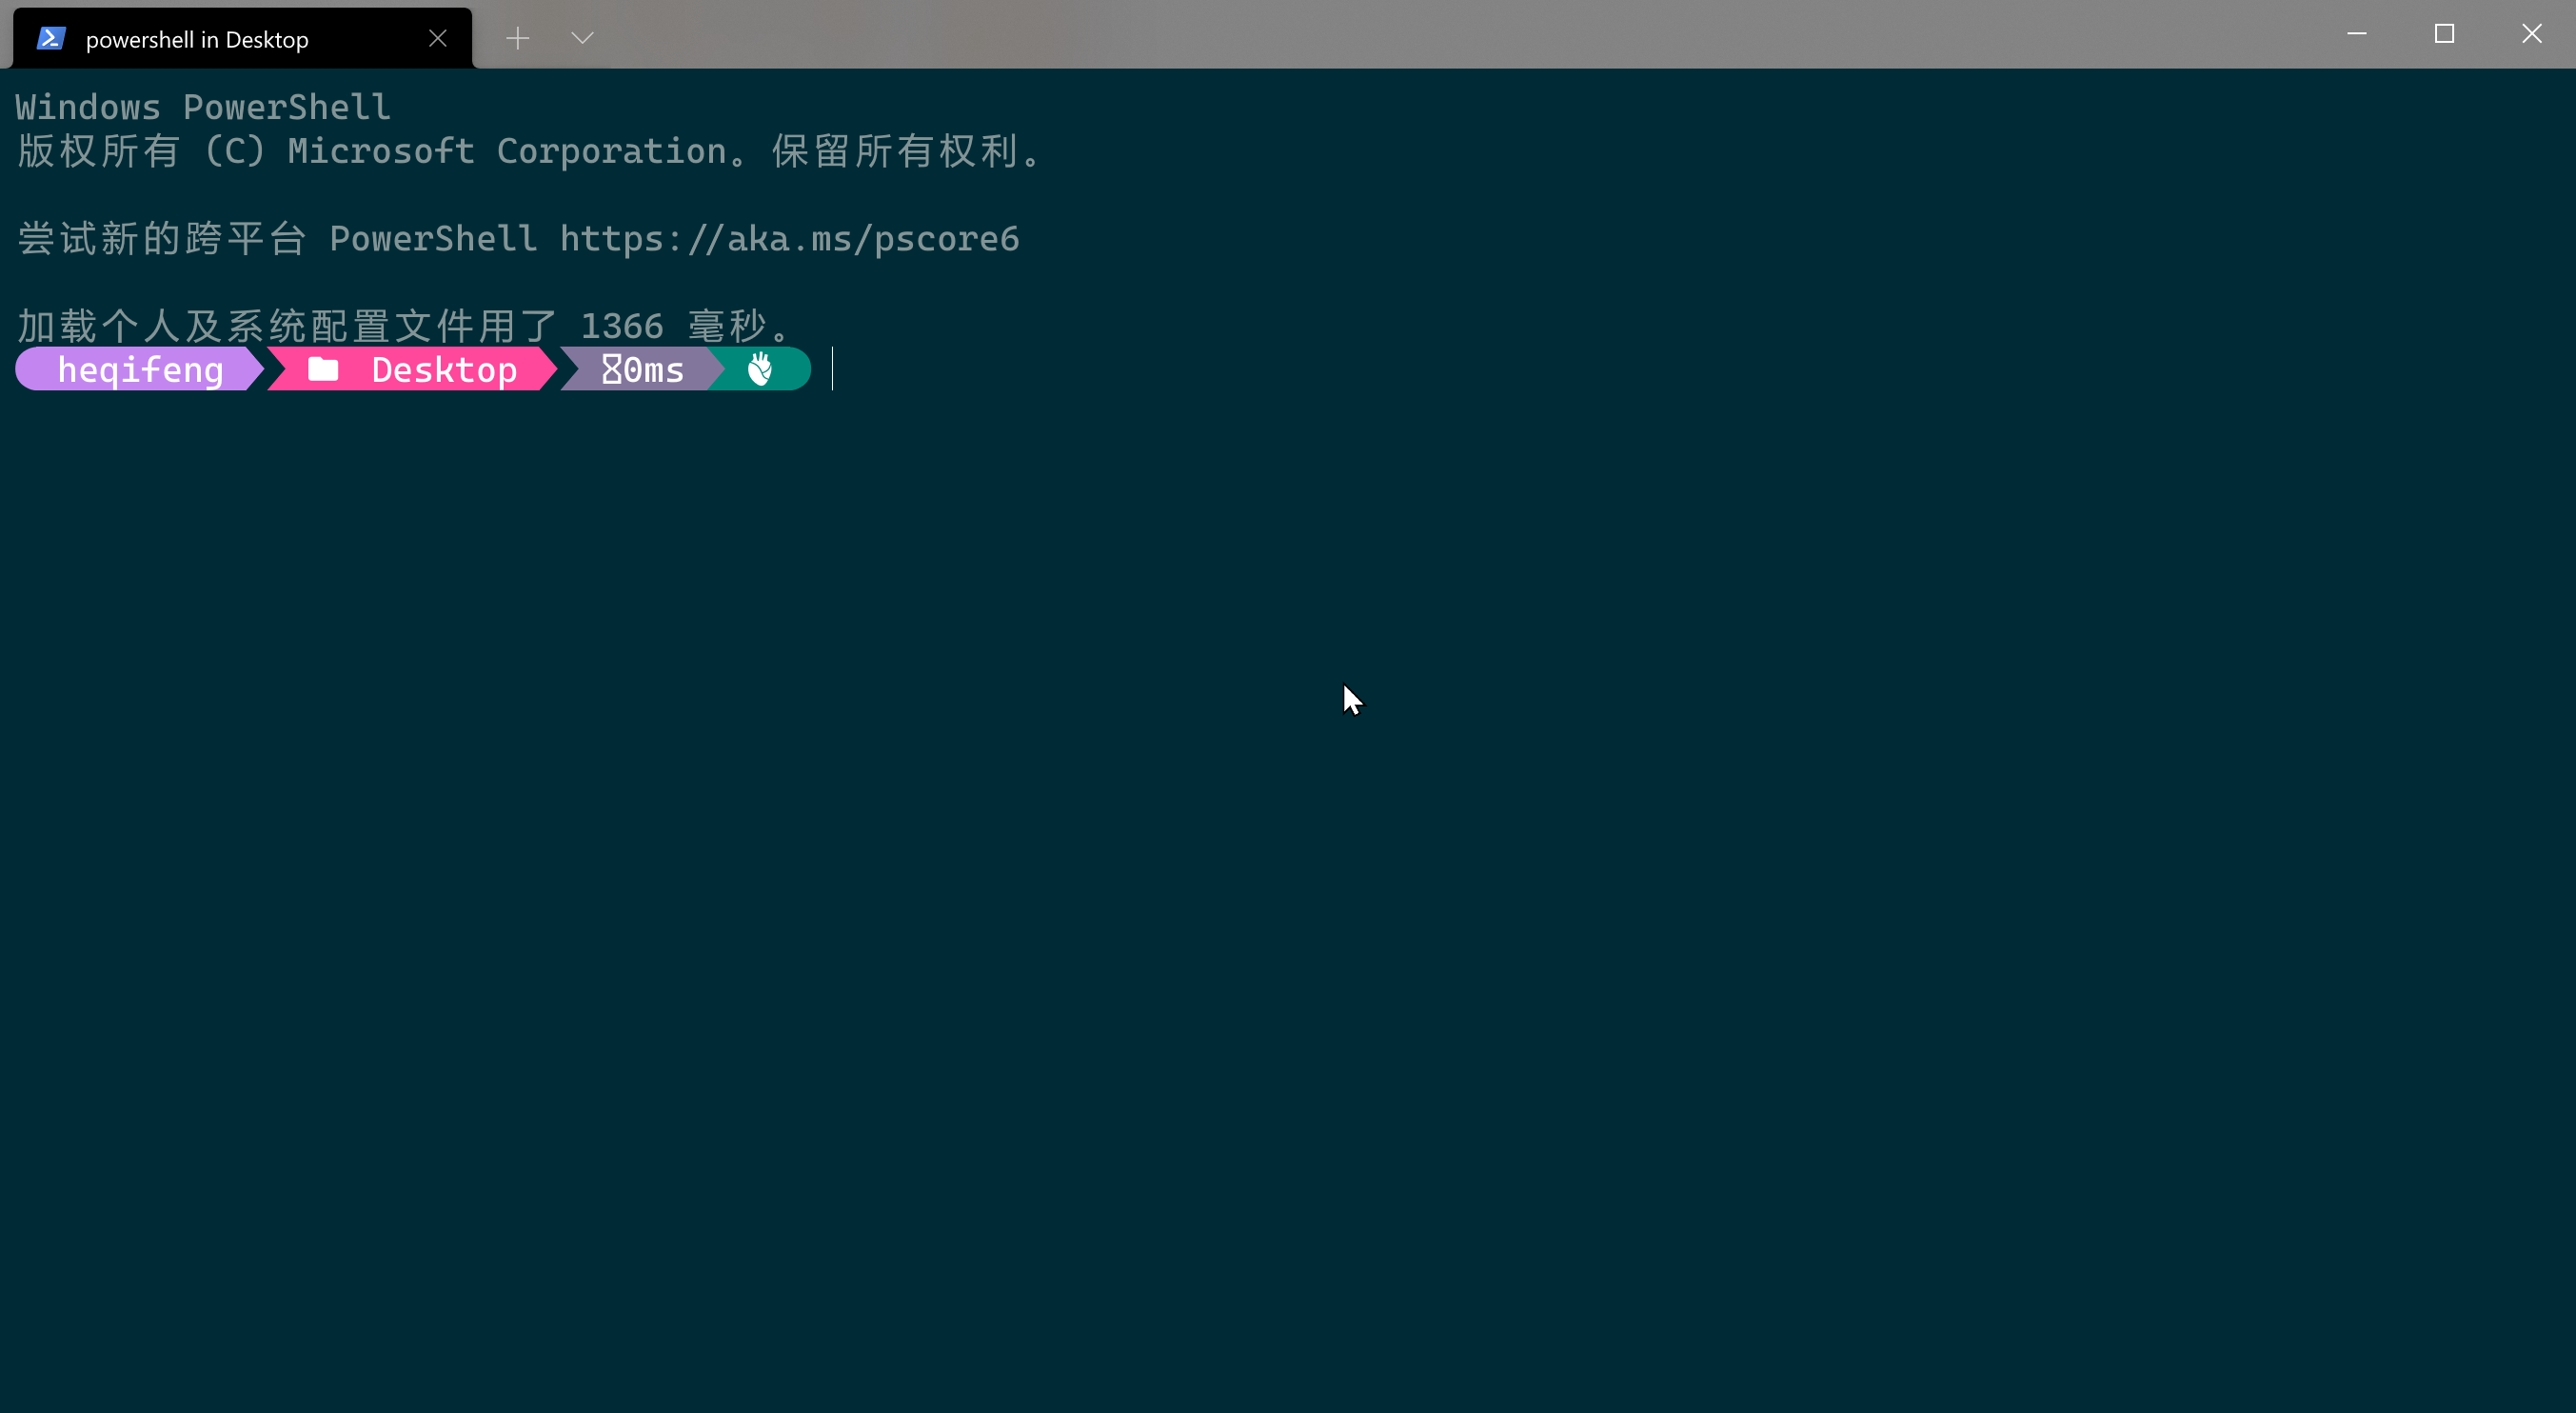
最终效果:

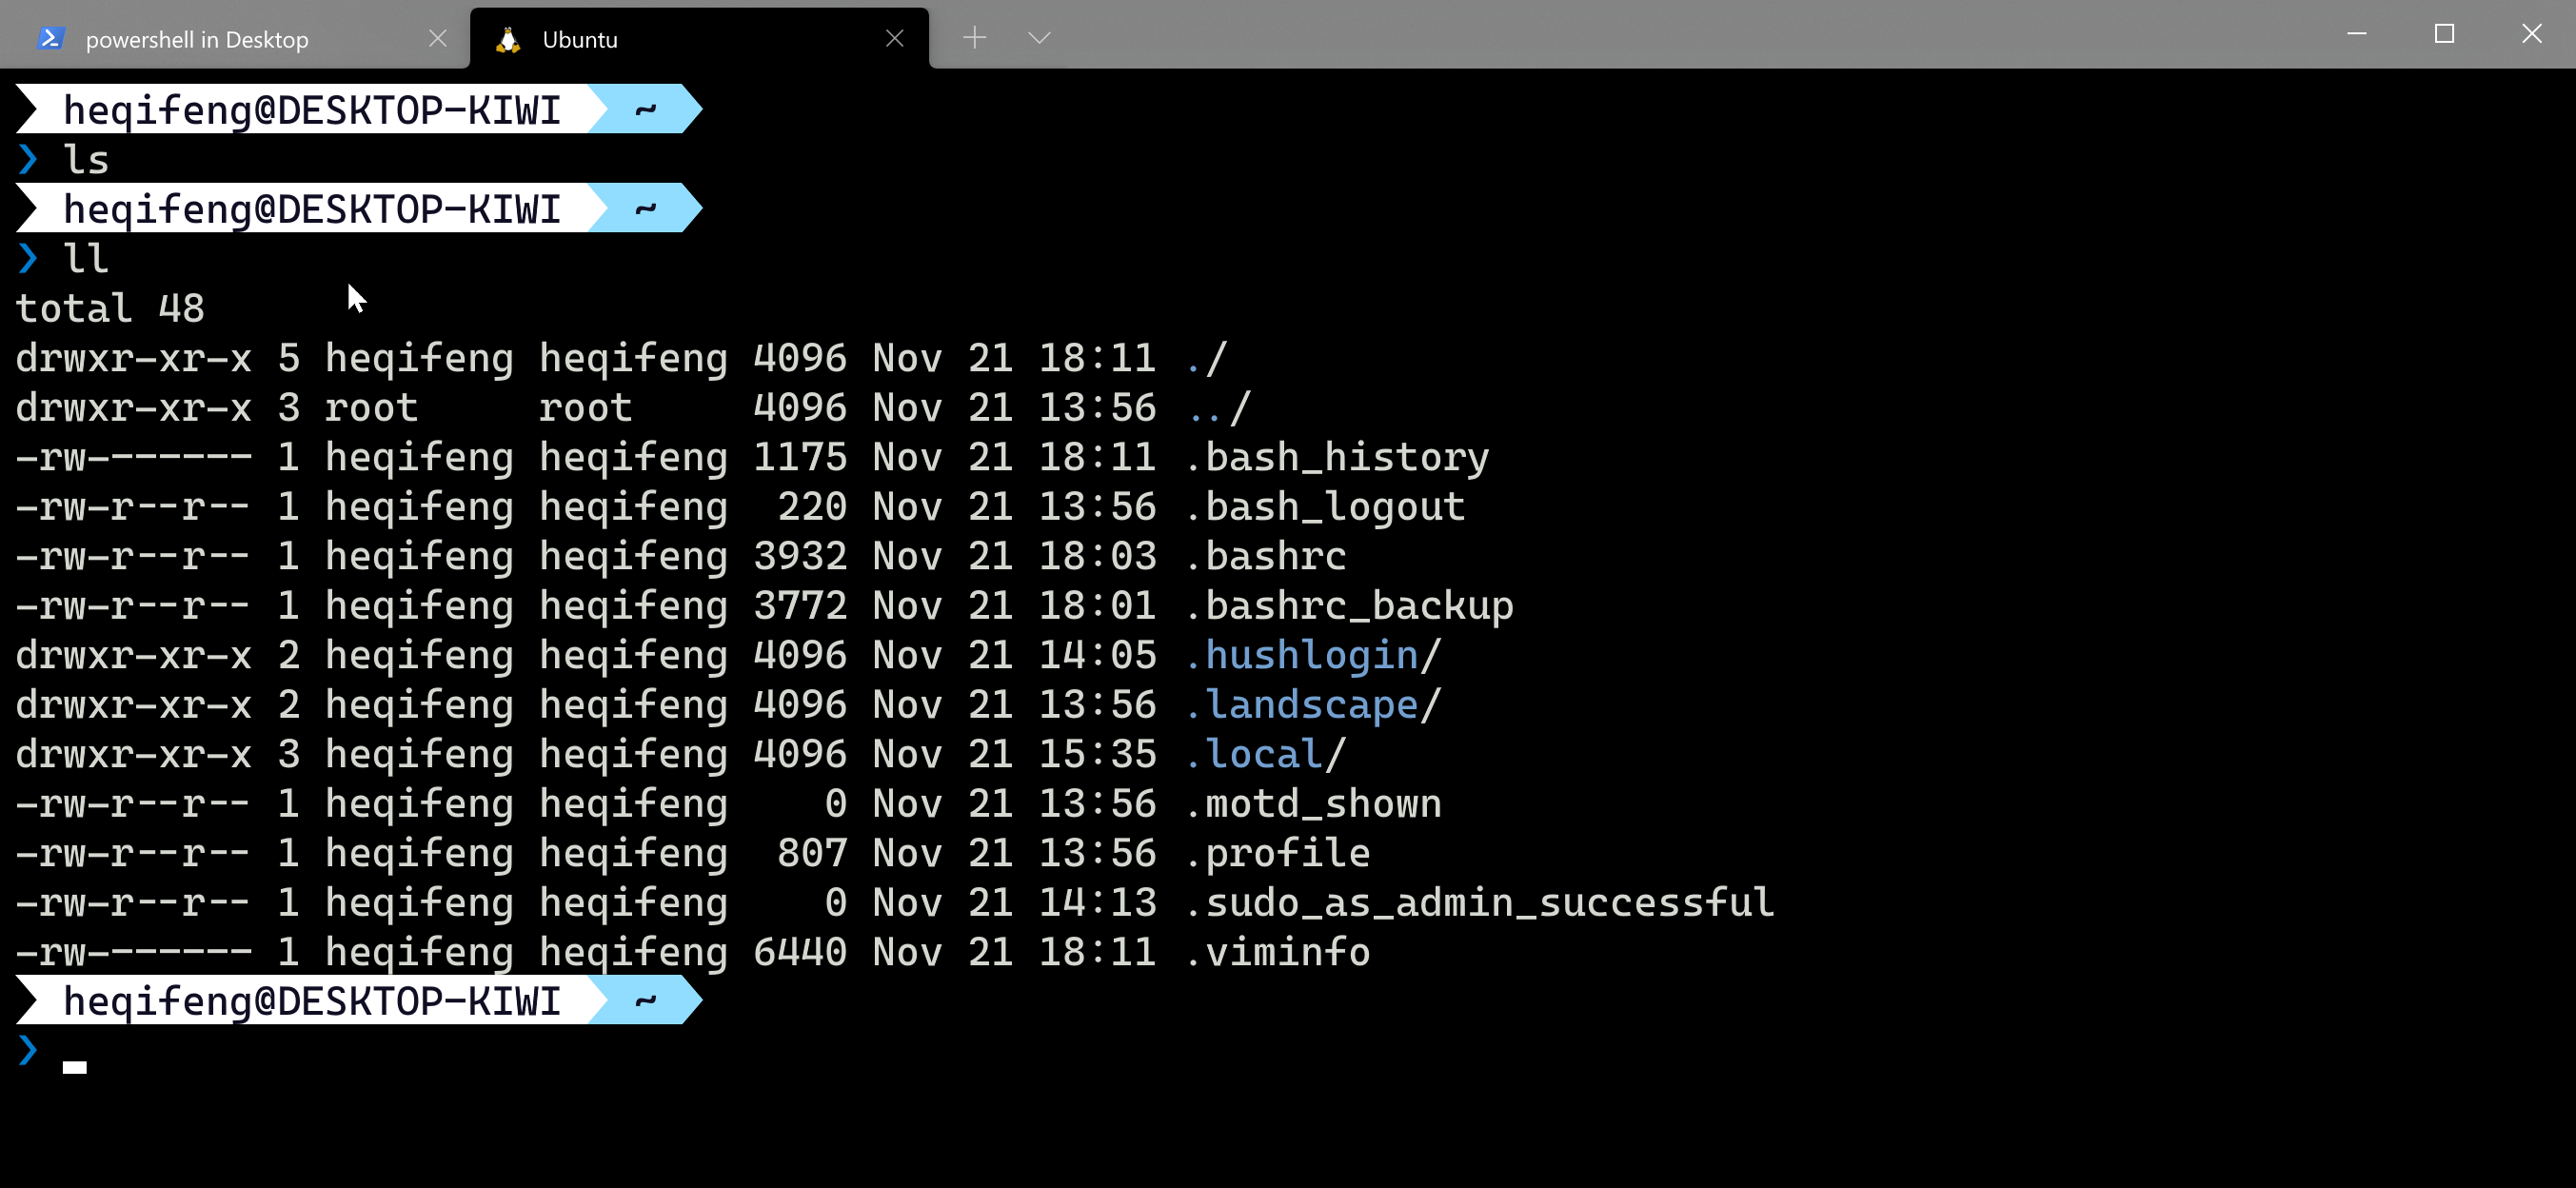
2.2.2 WSL
对于WSL来说需要更新.bashrc配置文件。
使用命令 nano .bashrc 打开配置文件 并将下面的脚本放进去。(下面脚本中paradox.omp.json 为主题部分,可自行替换,你可以在.poshthemes这个文件夹下面看到所有的主题。 )
| |
参考链接:Oh My Posh documentation.
【注意】这里的路径要根据实际情况变更,直接放进去会报错。我这里的安装日志如下:
| |

当然了,WSL下是可以使用oh-my-zsh的,这里预留个坑位: [WSL安装oh my zsh.md](WSL安装oh my zsh.md)
2.2.3 附第一种方式的安装说明
如果不考虑在WSL上使用oh-my-posh,可以完全参考下面这篇文章操作。
Windows Terminal美化(oh-my-posh3)
下面是官方文章中对于第一种方式的说明。
Using PowerShell, install Oh My Posh with the command:
1Install-Module oh-my-posh -Scope CurrentUserBrowse the prompt themes, with the command:
1Get-PoshThemesChoose a theme and update your PowerShell profile with this command. (You can replace
notepadwith the text editor of your choice.)1notepad $PROFILEAdd the following to the end of your PowerShell profile file to set the
paradoxtheme. (Replaceparadoxwith the theme of your choice.)1 2Import-Module oh-my-posh Set-PoshPrompt -Theme paradox
三、安装posh-git
经过上面的安装记录,这里就非常简单了,按照步骤操作即可。
Install posh-git using PowerShell with the command:
1Install-Module posh-git -Scope CurrentUserUpdate your PowerShell profile file:
notepad $PROFILE. (You can replace nodepad with the text editor of your choice).In your PowerShell profile, add the following to the end of the file:
1Import-Module posh-gitgit设置和取消代理
git config --global https.proxy http://127.0.0.1:1080
git config --global https.proxy https://127.0.0.1:1080
git config --global --unset http.proxy
git config --global --unset https.proxy